The heavy-bottomed saucepan groans slightly against the wooden spoon as the sugar structure begins to break down. A faint, toasted amber rim forms around the edge of the melted marshmallow mass, smelling sharply of browned butter hitting an open campfire. You pull it off the heat just as the dry confetti cake mix drops into the liquid, watching the powder absorb seamlessly into the golden syrup. The cereal folds in next with a sharp, glass-like crackle, suspended in a warm, caramelized web. Most home cooks rush this step, melting pale fluff into a puddle of weak butter and wondering why the resulting treats turn into a stale, tooth-breaking brick by Tuesday afternoon. That golden, toasted rim changes the physical reality of the dessert entirely.
The Physics of the Toasted Shield
Treating marshmallows like basic culinary glue is the quickest way to ruin a batch of treats. The standard approach assumes that melting store-bought marshmallows merely changes their shape from solid to liquid, acting as a binder for the cereal and cake mix. But raw, melted marshmallow sugar is highly hygroscopic—meaning it actively pulls ambient moisture from the air, the butter, and eventually the cereal itself, causing rapid staling.
Think of it like painting drywall without primer. Without a barrier, the structural elements absorb everything and crumble. By allowing the melted marshmallows to toast in the pan until the sugar begins to caramelize, you force a Maillard reaction. This chemical shift alters the sugar molecules, creating a hydrophobic barrier around every individual piece of cereal. The toasted sugar locks internal moisture in and keeps humid air out, preserving a chewy texture for days.
The Caramelized Structural Sequence
Building a treat that holds its shape without turning into a rock requires precision timing. Pastry chef Marcus Trenton bypasses the broiler entirely, utilizing a dry-pan toast technique to manipulate the sugar directly on the stovetop.
- The Butter Foundation: Melt one stick of unsalted butter over medium heat until the milk solids drop to the bottom and brown. You want the nutty aroma to peak right before the marshmallows hit the pan.
- The Sugar Drop: Add 16 ounces of mini marshmallows. Do not stir immediately. Let them sit in the browned butter for 45 seconds to establish a crust on the bottom layer.
- The Toasting Phase: Fold the mixture slowly from the bottom up. Look for amber streaks folding into the white fluff. Continue scraping the bottom until the entire mass turns the color of lightly roasted peanuts.
- The Cake Mix Temper: Remove the pan from the heat. Whisk in exactly one-half cup of dry confetti cake mix and a pinch of salt. The residual heat cooks out the raw flour taste without clumping.
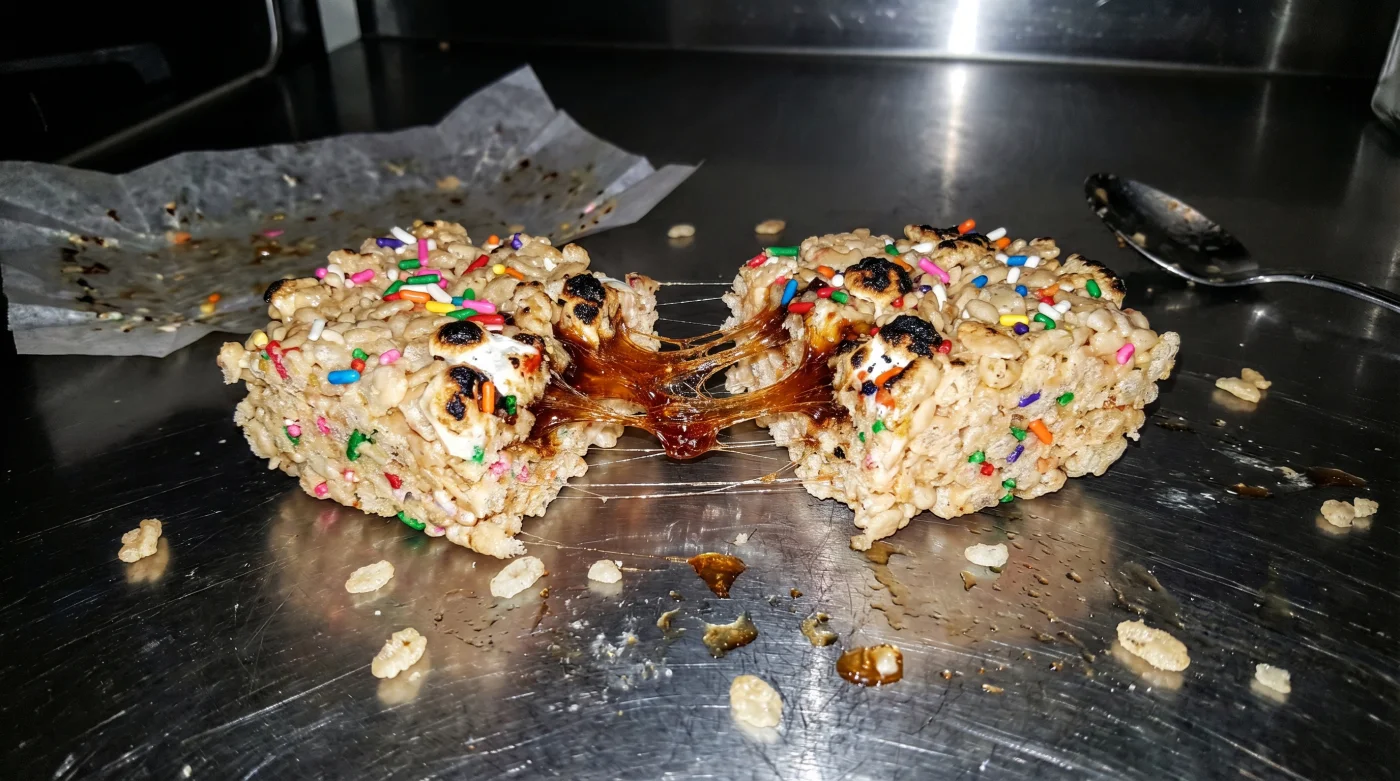
- The Suspension: Pour eight cups of rice cereal into the pot. Fold with a silicone spatula until you see thick, golden spiderweb strands pulling between the grains.
- The Gentle Press: Transfer the mixture to a parchment-lined 9×13 pan. Using buttered fingertips, lightly pat the mixture into the corners. Do not pack it down, or you will crush the air pockets that keep it tender.
Troubleshooting the Sticky Details
The most common failure point happens during the transfer from pot to pan. If your mixture turns into a dense, unyielding block, you likely overheated the sugar past the soft-ball stage or compressed the cereal too aggressively into the baking dish.
| The Common Mistake | The Pro Adjustment | The Result |
|---|---|---|
| Pressing treats with a spatula | Using wet or buttered fingertips lightly | Maintains air pockets for a tender bite |
| Adding cake mix over high heat | Whisking it in off the heat | Prevents scorched flour and gritty texture |
| Using stale cereal | Crisping cereal in the oven for 5 mins | Maximum crunch against the chewy binder |
If you need to pivot, understanding your limits is key. If you’re in a rush, skip the butter-browning phase and just focus on letting the marshmallows sit untouched in the pan for two minutes on medium-high to force a quick toast. For the purist, source a high-quality vanilla bean paste to add right after the cake mix, cutting through the artificial sweetness of the boxed powder with sharp, floral notes.
Mastery Beyond the Pan
Rethinking a childhood staple isn’t about complicating a simple afternoon project. It is about understanding the mechanics of the ingredients sitting in your pantry right now. When you know exactly how sugar reacts to heat and moisture, you stop relying on luck to dictate the outcome of your baking.
You gain control over the texture, the shelf-life, and the final bite. Nailing this structural shift means never throwing away half a pan of rock-hard treats again. It guarantees that what you make on Sunday will still yield perfectly soft, chewy corners on Friday, leaving you to simply enjoy the process rather than worry about the clock ticking on your dessert.
Frequent Structural Questions
Can I use a marshmallow fluff instead of whole marshmallows?
No, fluff lacks the gelatin structure necessary to hold the cereal together. It will result in a wet, slumping mess that never sets properly.Why did my cake mix clump when I added it?
You likely added it while the pot was still over an active flame. Always remove the pan from the heat completely before whisking in the dry powder.How long do these stay soft using this toasted method?
The caramelized barrier protects the moisture for up to a week. Keep them in an airtight container at room temperature.Do I need to bake the raw cake mix first to make it safe?
The residual heat of the boiling marshmallow and butter mixture is sufficient to heat the flour past the safety threshold. Stirring it quickly ensures even heat distribution.Why are my treats breaking my teeth the next day?
You crushed the mixture into the pan, destroying the airy pockets. Always use a gentle touch when pressing the cereal into the corners.