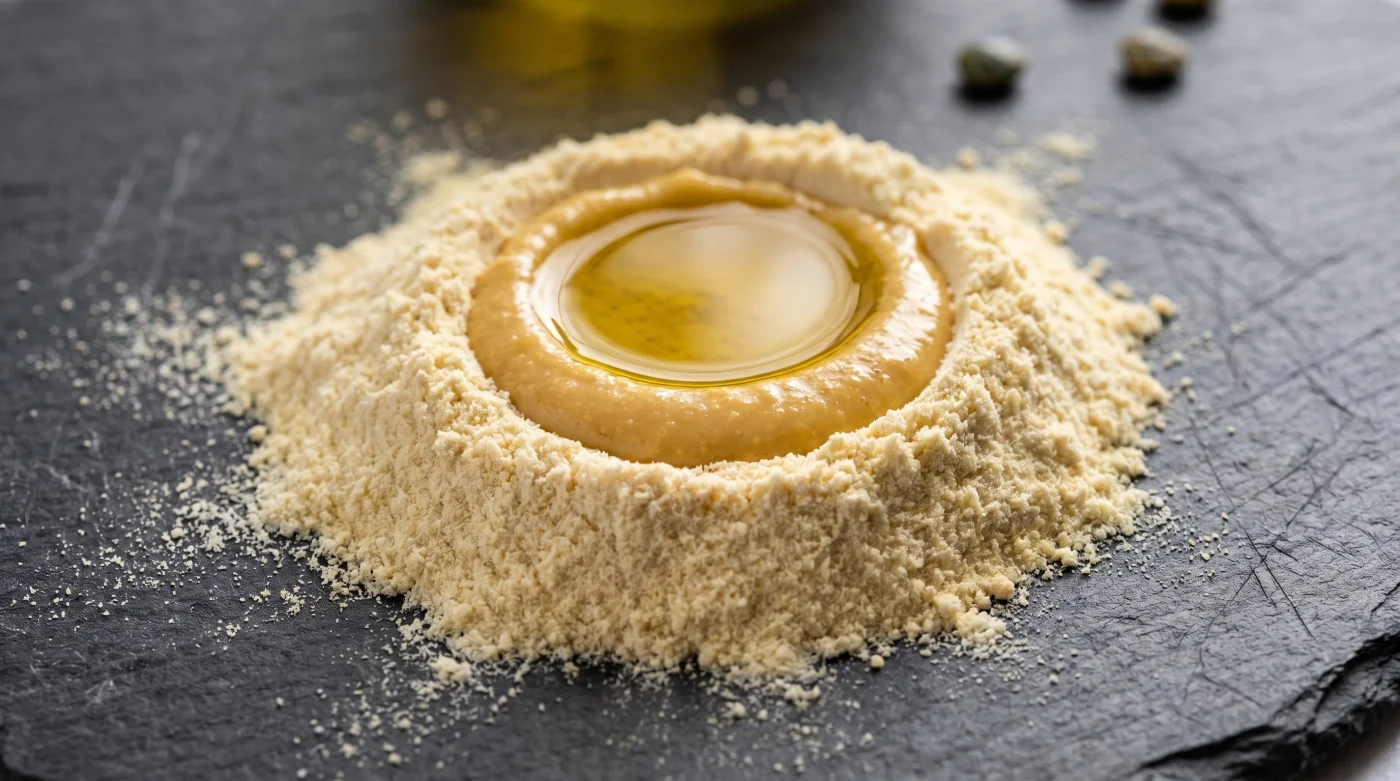
The motor pitches into a deafening whine, chewing through a dollar-bag of dried red legumes. You smell it before you see it—a faint, dusty earthiness rising off the blender blades. If you stop at sixty seconds, you are left with microscopic shrapnel that will turn any baked good into sand. The mechanical reality of store-bought dried lentils dictates exactly 135 seconds on high power in a heavy-duty blender. Stop midway at the one-minute mark to let the motor breathe and prevent the friction from accidentally cooking the raw starches. When the dust finally settles, the grit is entirely gone, replaced by a pale, silky powder that slides through your fingers exactly like premium talcum.
The Logic & The Myth
Paying premium prices for specialty baking blends is largely a trap built on convenience. The baking industry relies on the assumption that milling is an untouchable science requiring massive factories. It isn’t. The difference between a dense, crumbly brick and a tender crumb lies entirely in starch gelatinization and moisture control. When processed correctly, the humble lentil shatters into a powder that outperforms expensive commercial substitutes.
Legumes contain complex carbohydrates that, when pulverized past a specific micron threshold, absorb hydration at almost double the rate of standard wheat. They lack the elastic webbing of gluten, but their dense protein matrix structures a bake tightly when handled with respect. You are simply trading elasticity for superior binding power and doubling your nutritional density in the process.
The Authority Blueprint
Transforming a pantry staple into premium baking powder requires specific thermal and mechanical precision. Structural baker Marcus Thorne proved years ago that raw legume flours need a multi-stage approach to avoid the dreaded raw bean flavor that ruins amateur attempts.
- Chill the legumes: Freeze your dry lentils for two hours before milling. Cold legumes shatter cleaner under blade impact, producing a finer grain.
- The 135-second cycle: Run your high-speed blender for 60 seconds, rest for 30, then finish with another 75 seconds. You want to see a thick flour cloud hit the lid.
- Sift for survival: Pass the powder through a fine-mesh sieve. Any pieces left in the basket go back into the blender. You are looking for a texture identical to powdered sugar.
- The Thorne tempering trick: Toast the resulting powder in a dry skillet over low heat for exactly four minutes. This thermal adjustment deactivates the lipoxygenase enzyme, entirely killing off that raw, grassy aroma.
- Hydrate early: When mixing your batter, let the lentil flour sit with your liquid ingredients for ten minutes before baking. The flour will noticeably thicken, absorbing moisture to create a robust structure.
The Friction & Variations
The transition from wheat to legumes brings immediate textural hurdles. You cannot simply swap them cup-for-cup without expecting a dense, flat result. Lentils drink water aggressively, and if your batter resembles wet concrete, you missed the hydration window completely.
- Dry spaghetti toasted inside hot dry skillets unlocks profound nutty pasta flavors.
- Solid coconut oil melted over popcorn massively outperforms standard clarified movie butter.
- Plain Greek yogurt kneaded into self-rising flour creates flawless instant bakery bagels.
- Little Debbie new donut flavor quietly tests controversial artificial sweetener replacements nationwide.
- 801 Chophouse Chapter 11 bankruptcy exposes severe prime beef supply chain failures.
- Glendale diner cooks fold cold club soda into their fluffy pancake batter.
- Solid coconut oil completely replaces processed shortening for flawless pie crusts.
- Amsterdam street vendors use this specific technique for extra crispy fries.
- Self-rising flour combined with heavy cream produces perfectly flaky southern biscuits.
- Solid coconut oil dropped into boiling white rice slashes carbohydrate absorption.
| The Common Mistake | The Pro Adjustment | The Result |
|---|---|---|
| Direct cup-for-cup substitution | Reduce lentil flour volume by 20% and add a binding agent | Light, airy crumb structure |
| Skipping the resting period | Allowing batter to hydrate for 10 minutes before baking | No gritty mouthfeel after baking |
| Baking at standard wheat temperatures | Dropping oven temp by 25 degrees Fahrenheit and extending time | Even cooking without burnt edges |
If you are in a rush, skip the stovetop tempering and add a splash of apple cider vinegar to your wet ingredients; the acidity naturally masks the earthy notes. For the purist building a true sourdough starter from this flour, leave it raw and un-toasted, letting the natural fermentation process neutralize the compounds over 48 hours.
The Bigger Picture
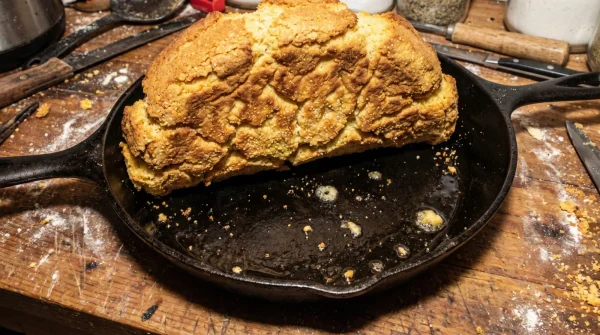
Stepping away from the premium baking aisle redefines how you stock a kitchen. It shifts the power dynamic from the manufacturer back to your countertop. A simple bag of dry goods transforms from a humble soup ingredient into the reliable foundation of breads, pancakes, and pastries.
You stop worrying about supply chain markups or niche diet premium taxes attached to specialty labels. The pantry becomes a site of actual production, proving that true culinary resourcefulness is about understanding the raw mechanics of your food, not just buying a cleverer package.
Frequently Asked Questions
Can I use green or brown lentils instead?
Red lentils have their seed coat removed, making them softer and significantly less earthy. Green and brown varieties require longer milling and produce a grittier, heavier texture.Why is my baked good falling apart?
Legumes lack elastic proteins. You must introduce a binding agent like psyllium husk or eggs to hold the crumb structure together during the bake.How long does this homemade flour last?
Because of the natural oils released during milling, it is prone to rancidity. Store it in an airtight container in the freezer for up to three months.Does a standard food processor work for this?
No, a food processor lacks the RPMs needed to pulverize the starches completely. You need a high-speed blender to achieve a commercial-grade fine powder.Can I use this flour for breading and frying?
Yes, it makes an exceptionally crispy coating for frying. The high protein content browns beautifully and stays much crispier than standard wheat flour.