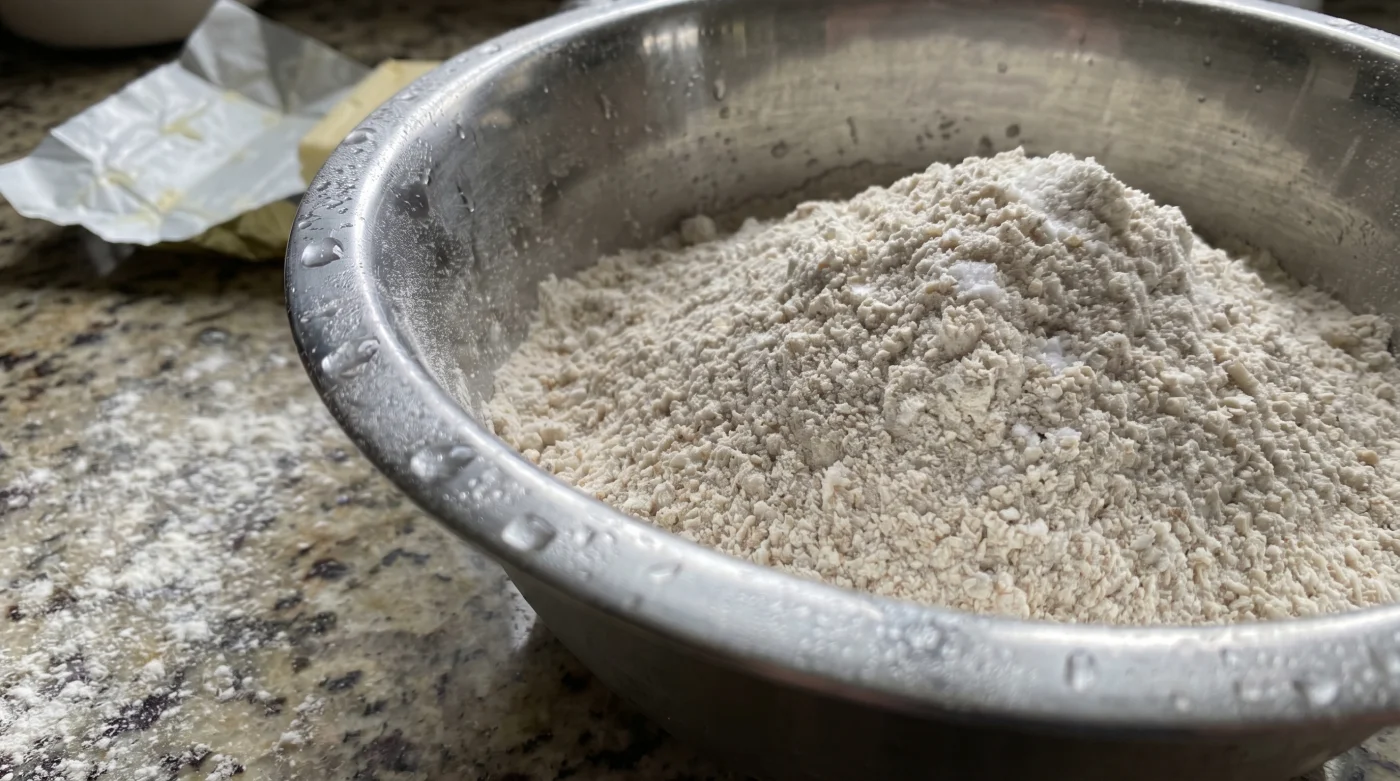
Frost instantly fogs the rim of the stainless steel bowl as you pull it from the freezer. Your fingers sting against the chilled metal, a stark contrast to the soft, powdery grit of the self-rising flour cascading from the measuring cup. Most home bakers grab a room-temperature bowl from the cupboard, blissfully unaware they are bleeding the life out of their dough before the butter even hits the mix. You hear the faint, hollow scrape of the whisk against freezing steel, locking in the leavening power. The ambient heat of a standard kitchen is quietly stealing your biscuit’s height, forcing a premature chemical reaction that should be fiercely protected.
The Chemistry of Cold Suspension
Think of baking powder as a coiled spring, and moisture as the release trigger. When self-rising flour meets liquid in a standard 72-degree room, the built-in leavening agents immediately begin producing carbon dioxide gas. You are burning the fuel meant for the oven. By forcing the ingredients into a sub-freezing environment, the cold physically delays the chemical reaction, trapping the carbon dioxide within the dough structure until the sudden shock of 450 degrees Fahrenheit forces a massive, vertical expansion. It is the difference between a deflated balloon and a structural pillar.
The Freezing Protocol
To completely halt the premature activation of your dough, you have to control the ambient temperature of your workspace. Applying cold requires precision and speed to outpace the natural warmth of your kitchen.
- Pre-Chill Your Equipment: Place your metal mixing bowl and pastry blender in the freezer for exactly 15 minutes before baking.
- Measure the Dry Base: Pour your self-rising flour directly into the frosted bowl. You want to see the flour instantly cool, avoiding the ambient humidity of the kitchen.
- The Jenkins Integration: As Southern pastry veteran Sarah Jenkins dictates, grate frozen butter directly into the icy flour. Her shared secret is keeping the fat from melting into the flour matrix, maintaining distinct layers.
- Toss, Do Not Knead: Use a cold fork to toss the mixture. Coat every butter shard in the chilled flour until it resembles coarse gravel.
- The Milk Shock: Pour ice-cold buttermilk into the center well. The mixture should seize slightly, resisting immediate absorption.
- Fold for Structure: Gently bring the dough together. You should see distinct, dry streaks of flour still visible when you turn it onto the counter.
- Cut with Conviction: Press down with a sharp cutter without twisting. The dough edges should look jagged and rough, a visual cue that the leavening agents are intact and waiting for the heat.
Adapting to the Environment
Even with a chilled bowl, a warm kitchen in the middle of July can ruin your efforts. The friction of your hands alone transfers enough body heat to prematurely activate the self-rising flour. Patience dictates the final texture, preventing the dreaded dense puck when the humidity spikes.
If you are in a rush, stash your dry ingredients in the freezer alongside the bowl for a quick five-minute blast to drop their core temperature. For the purist, rest the fully mixed dough in the refrigerator for twenty minutes before cutting, allowing the flour to fully hydrate while the leavening agents remain dormant.
| The Common Mistake | The Pro Adjustment | The Result |
|---|---|---|
| Mixing in a glass bowl on the counter | Using a frozen stainless steel bowl | Massive vertical lift |
| Kneading dough with bare hands | Tossing ingredients with a cold fork | Tender, flaky layers |
| Using room-temperature buttermilk | Keeping dairy on ice until the final second | Delayed chemical reaction |
Beyond the Biscuit
Controlling the temperature of your tools strips the anxiety out of baking. You are no longer crossing your fingers and hoping for a good rise; you are engineering it from the bottom up. Structure becomes an absolute guarantee, leaving you free to focus on the joy of the process.
Respecting the fragile nature of self-rising flour shifts the power dynamic in the kitchen. When you master this tiny detail, the persistent fear of flat, heavy baked goods simply vanishes. You gain the quiet confidence that comes from understanding the mechanics of your craft, turning a chaotic morning routine into an exact, predictable science.
Common Baking Inquiries
Can I leave my bowl in the freezer overnight? Yes, a permanently chilled bowl is a great habit for frequent bakers. Just ensure it is completely dry before freezing to avoid ice crystals.
Does this apply to all types of flour? This specific technique is critical for self-rising flour due to the pre-mixed leavening agents. Standard all-purpose flour does not require extreme temperature control unless you are actively cutting in butter.
Why is my dough still falling flat? Check the expiration date on your flour, as baking powder loses potency after six months. Even a frozen bowl cannot revive dead chemical agents.
Can I use a glass or ceramic bowl? Stainless steel is vastly superior because it conducts and holds the cold rapidly. Glass takes too long to chill and warms up too quickly on the counter.
What if I do not have time to chill the bowl? You can place the bowl over an ice bath while you mix. It is a bit clunky, but it actively pulls heat away from the dough.