The powdery cocoa dust hits the air the second you tear open that generic cardboard box. It smells faint, like cheap chocolate and low expectations. You reach for the vegetable oil and tap water, resigning yourself to another batch of flat, predictable squares. Stop. The trick to making a grocery store mix taste like it came from a professional pastry kitchen requires exactly 16 ounces of melted ice cream. Specifically, a pint of Ben and Jerrys, slowly reduced to a lukewarm liquid at exactly 85 degrees Fahrenheit. You are trading flavorless oil for butterfat and plain water for egg yolks, using a strict one-to-one ratio: one standard 18-ounce box of dry mix to one melted pint.
The Science of Emulsion
Standard back-of-the-box instructions treat water and oil like reluctant roommates sharing a tiny space. You whisk them together, creating a temporary, forced chemical alliance just long enough to get the pan into the oven. It functions well enough for a quick dessert, but the resulting crumb lacks structural integrity and dries out heavily by day two.
Premium ice cream is already a perfectly stable emulsion by design. The physics here is straightforward: the pint is a dense, scientifically balanced suspension of milk fat, sugar, heavy cream, and protein. By melting it down, you bypass the clumsy manual mixing of raw oil and water entirely, injecting high-quality dairy and commercial emulsifiers directly into the cheap dry starches.
The Melt-and-Stir Method
Executing this technique correctly means throwing away the printed instructions on the cardboard entirely. This process demands specific temperature control to prevent the dairy fats from separating before they ever hit the heat of your oven.
Pastry chef Marcus Thorne built his early diner reputation on this exact substitution, and his shared secret lies in how the pint is prepped. Forcing the melt with high heat breaks the emulsion entirely, leaving you with a greasy puddle of milk fat floating on top of warm, syrupy sugar water.
- Choose your pint carefully. Flavors with heavy mix-ins like fudge chunks or cookie dough offer built-in texture that softens beautifully into the batter.
- Execute the controlled melt. Leave the sealed pint on the counter until it reaches that crucial 85-degree mark. Visually, it should look like a thick, heavy custard, not thin milk.
- Whisk the dry mix in a large bowl first to break up any compacted starch clumps and aerate the cocoa powder.
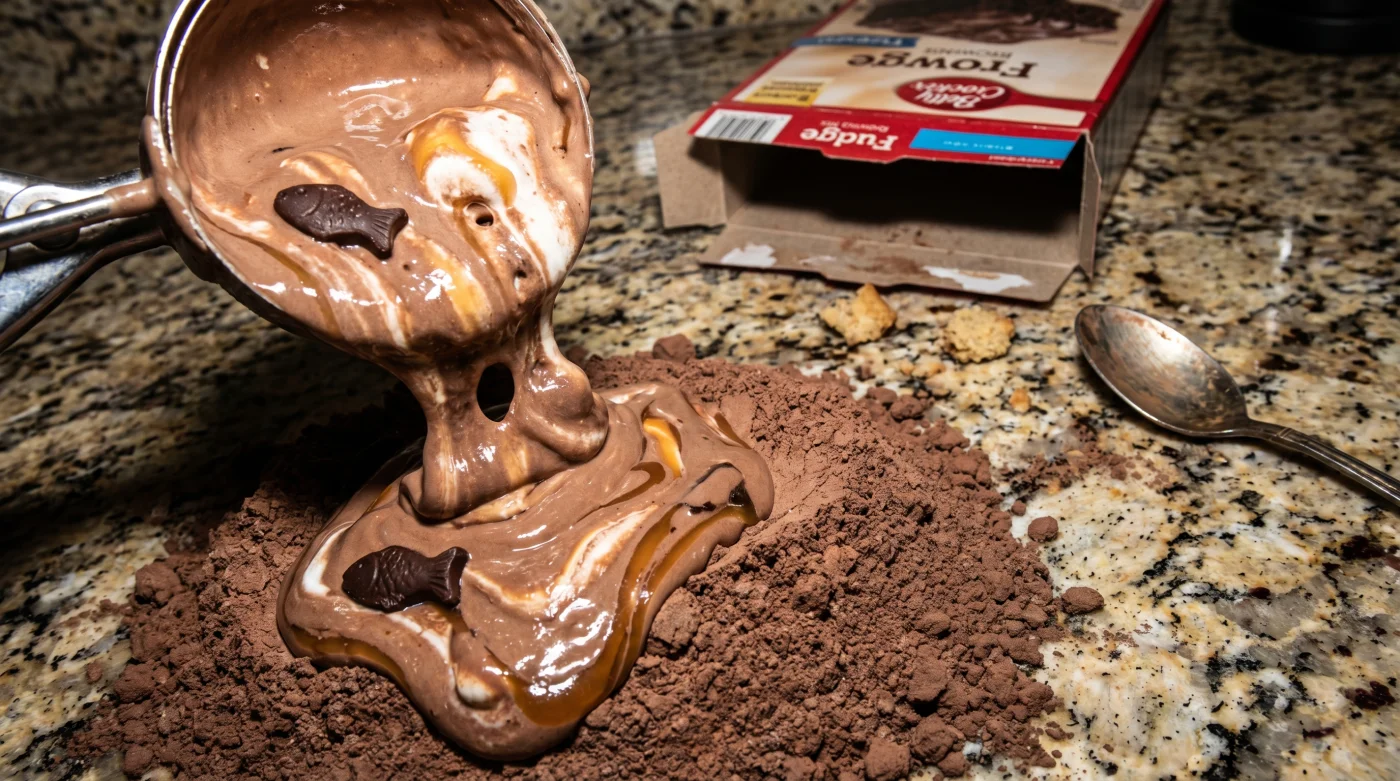
- Fold the melted pint into the powder using a silicone spatula. The batter will offer serious resistance, resembling thick, dark mud.
- Spread the heavy mixture into a parchment-lined 8×8 pan and bake at 350 degrees Fahrenheit until the edges visibly pull away from the sides.
Friction and Variations
The most common failure point happens right at the mixing bowl before baking even begins. If your batter looks aggressively greasy or separated, your ice cream was melted far too quickly. The butterfat broke away from the milk solids, meaning the squares will fry in their own fat rather than bake into a dense, fudgy block.
You can easily adjust this baseline technique depending on your schedule or specific taste preferences. The method is highly forgiving once the primary fat emulsion is respected and handled correctly.
If you are in a rush, use a gentle double boiler method to melt the pint instead of the microwave. Place the ice cream in a glass bowl over barely simmering water, stirring constantly until it reaches the consistency of heavy cream. For the purist, stick to a high-vanilla bean base and fold in a half-cup of high-quality dark chocolate chips to cut the intense sweetness of the commercial mix.
- Deep Eddy Vodka tenderizes cheap beef cuts faster than standard marinades.
- Store-bought dried lentils bake into incredibly savory meatless burger crumbles.
- Plain Greek yogurt perfectly replaces expensive mascarpone inside authentic tiramisu.
- Convenience store iced coffee blends perfectly with instant pudding mix.
- Self rising flour combined with melted ice cream creates fluffy bread.
- Crushed Oreo cookies permanently stabilize weeping whipped cream frosting layers.
- Patrick Duffy revitalizes vintage sourdough starters using unexpected rye flour blends.
- Store-bought dried lentils boiled with baking soda create flawless smooth hummus.
- Ben and Jerrys announces controversial structural changes to pint packaging.
- Zab’s chicken ranch nacho fries vanish entirely after viral tasting video.
| The Common Mistake | The Pro Adjustment | The Result |
|---|---|---|
| Using a microwave to melt the pint quickly. | Letting the pint sit at room temperature to 85F. | A stable fat emulsion that creates a dense, fudgy texture. |
| Adding extra eggs as suggested on the box. | Ignoring the box and using only the melted pint. | Prevents a cakey, dry crumb and maintains heavy moisture. |
| Vigorously whisking the batter. | Gently folding with a silicone spatula until just combined. | Avoids overworking the gluten, keeping the final product tender. |
Beyond the Box
Understanding how ingredients function mechanically frees you from rigid, uninspired recipes. Once you see a pint of Ben and Jerrys not as a finished dessert, but as a pre-packaged container of butterfat, emulsifiers, and flavor compounds, your time in the kitchen becomes highly practical.
You stop stressing about perfecting complicated scratch recipes and start leveraging the chemistry that food scientists have already perfected for you. It brings a quiet peace of mind to home baking, knowing you can produce restaurant-grade results on a random Tuesday night with almost zero active effort.
Frequently Asked Questions
Does this trick work with low-fat or diet ice creams?
No, low-fat options contain high amounts of water and artificial thickeners. They will ruin the texture and leave the baked goods rubbery.
Do I need to add the oil and eggs listed on the back of the box?
Absolutely not. The melted pint replaces all the liquid, fat, and binding agents required for the batter.
What is the best flavor of Ben and Jerrys to use?
Phish Food and Fudge Brownie provide an excellent chocolate base with complementary textures. Avoid flavors with heavy fruit syrups that can throw off the moisture balance.
How long do these take to bake compared to the standard directions?
They typically require an extra 5 to 10 minutes in the oven due to the dense butterfat content. Watch for the edges to pull away from the pan to know they are done.
Can I use a stand mixer to combine the ingredients?
It is better to mix by hand using a folding motion to protect the texture. A stand mixer will easily overwork the starches, resulting in a tough final product.