Picture your kitchen on a typical Friday evening. A beautiful two-inch ribeye sits on the wooden cutting board, but a familiar dread creeps into the back of your mind. You know exactly what comes next: the heavy skillet heating until it threatens to warp, the violent splatter of hot oil, and the inevitable, piercing shriek of the ceiling alarm echoing down the hallway. Your windows are thrown open to the cold night, yet your living room still breathes through a pillow of charred fat for days. You crave that iconic, thick steakhouse crust, but the collateral damage of achieving it indoors feels entirely too high.
The Myth of the Cast-Iron Crucible
For generations, we believed that a perfect cut of beef demanded violence in the pan. We thought achieving that distinct, professional plating—where every slice falls naturally onto the porcelain with a stark, beautiful contrast between a mahogany crust and a flawless ruby center—required a scorching pan from start to finish. This approach creates what we might call the gravity of the heat. Traditional searing pulls your attention entirely into a frantic, smoke-filled struggle, trapping you in a cycle of overcooking the outer layers while the very center remains stubbornly cold.
That frantic pan-cooking is exactly what creates the dreaded gray band. It is a visual disappointment that ruins the aesthetic of a high-end meal before you even take a bite. The long-held belief dictates that mastering the reverse sear—the ultimate solution to edge-to-edge perfection—strictly requires a traditional oven, wire racks, and hours of patient monitoring. But your countertop holds a much more efficient secret.
I once spent a quiet afternoon before service watching a line cook named Marcus prep for a demanding dinner rush at a revered Chicago chophouse. He was not furiously torching cuts over open flames or rushing pans in and out of the broiler. Instead, he treated the massive steaks like delicate pastries, warming them gently in a precise low-humidity holding oven before they ever saw a flame. “The sear isn’t actually cooking,” he told me, carefully wiping down his pristine stainless station. “The sear is just the final signature on the canvas. The real work happens when the meat thinks it is just sitting in a warm breeze.” That slow, deliberate warming process dries out the surface completely, preparing the protein for a crust that practically forms on contact.
| Home Cook Profile | The Restaurant-Plating Benefit |
|---|---|
| The Apartment Dweller | Flawless, dark crusts without triggering sensitive smoke alarms or leaving lingering grease odors. |
| The Dinner Party Host | Predictable, stress-free timing that allows you to socialize with guests rather than panic at the stove. |
| The Aesthetic Plater | Zero gray bands around the edges, resulting in a striking, edge-to-edge ruby presentation for fanned slices. |
The Convection Reversal
Your countertop air fryer is essentially a miniature, high-velocity wind tunnel. It circulates dry heat so aggressively and efficiently that it mimics the exact thermodynamic conditions of high-end commercial convection ovens and dry-aging rooms. By setting this machine to a remarkably low temperature, you slowly raise the internal core of the meat while actively dehydrating the exterior. When that papery, bone-dry surface finally meets a hot pan, the browning reaction happens in a fraction of the usual time.
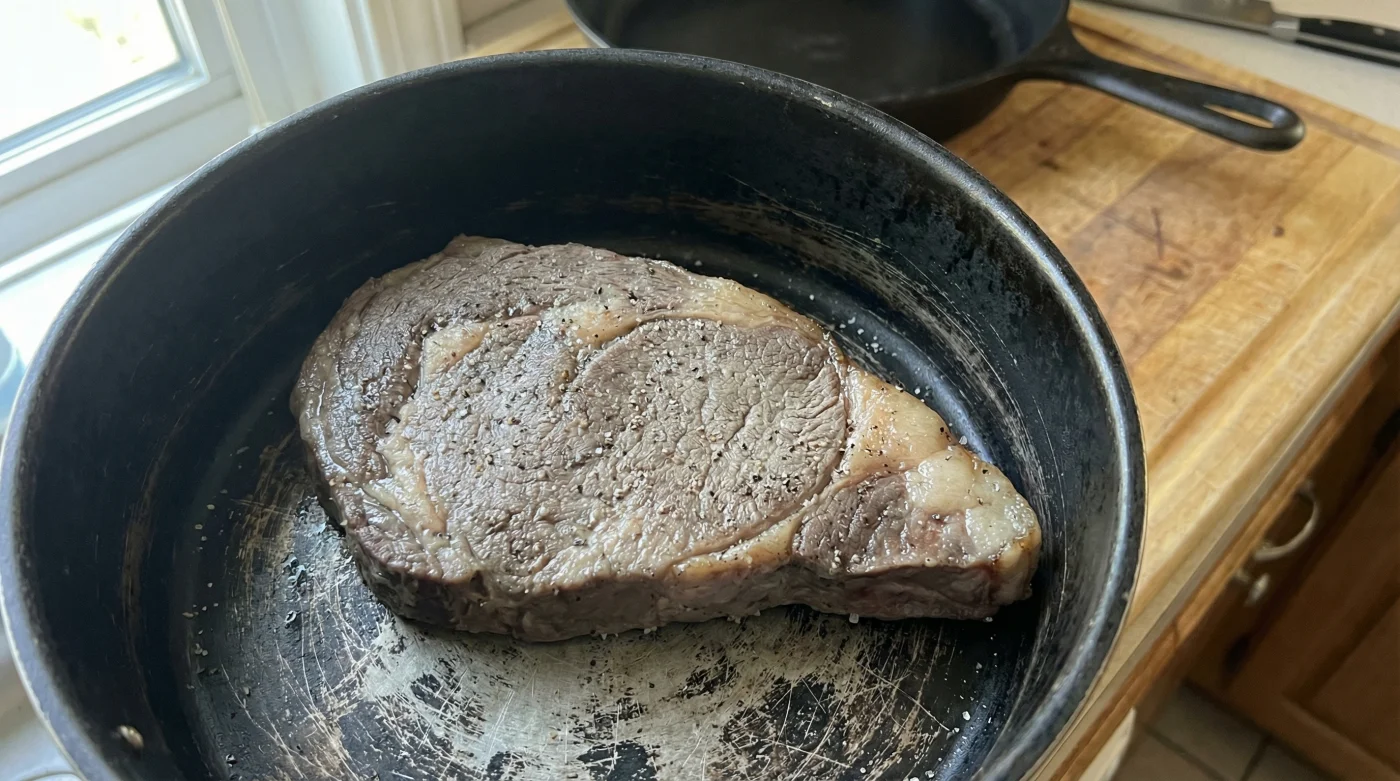
Start with a substantial piece of beef, ideally one and a half to two inches thick. Salt it generously on all sides, pressing the coarse crystals into the fat cap. Place the meat directly on the basket grating, ensuring there is plenty of room for the air to flow completely underneath it. Set your machine to exactly 225 Fahrenheit. This gentle, steady breeze prevents the muscle fibers from seizing up suddenly and squeezing out their precious juices.
Leave the meat completely untouched in the basket for 20 to 25 minutes. You are looking for an internal temperature of exactly 115 Fahrenheit for a beautiful, warm medium-rare. Because the convection environment is so arid, the outside of the beef will look somewhat pale, stiff, and completely dry when you pull it out. Do not worry if it looks unappetizing at this stage; this dry canvas is exactly what you want for a picture-perfect plating finish.
- Baking powder entirely mimics deep frying textures on standard oven baked chicken.
- Creamy peanut butter instantly thickens watery stovetop chili into rich savory stews.
- Plain Greek yogurt combines with self-rising flour for instant pizza dough
- Pancake batter requires exactly twenty minutes of resting for maximum fluffiness
- Crumpled parchment paper instantly conforms to difficult round baking cake pans
| Phase | Temperature | Time / Target | Mechanical Purpose |
|---|---|---|---|
| Air Fryer Roast | 225 Fahrenheit | 20-25 mins (115F internal) | Enzymatic tenderization and complete surface dehydration via rapid convection. |
| The Rest Period | Room Temp | 5 to 10 minutes | Allows the carryover cooking to stabilize before extreme, direct heat is applied. |
| The Flash Sear | Medium-High | 60 seconds per side | Rapid Maillard browning on a perfectly dried canvas, preserving the pink interior. |
Mastering the Final Presentation
Restaurant-quality plating is all about visual contrast and intentional geometry. Now that you have avoided the gray band, the way you slice the meat matters immensely. Always use a long, sharp slicing knife, cutting directly against the grain of the muscle fibers. This simple mechanical action shortens the protein strands, ensuring every single bite is incredibly tender and easy to chew.
Fan the slices out slightly overlapping on a warmed plate. The visual impact of that dark, savory crust resting right against the vivid ruby center is stunning. Sprinkle a small pinch of flaky sea salt directly onto the pink face of the sliced meat. It adds a delicate crunch and catches the light, elevating the visual appeal of the dish to a professional standard.
| Quality Checklist | What to Look For | What to Avoid |
|---|---|---|
| The Cut | Generous thickness of 1.5 to 2 inches (Ribeye, Strip, Filet). | Thin grocery-store steaks under an inch thick, which will overcook instantly. |
| The Surface | Bone-dry, slightly stiff exterior after the roasting phase. | Puddles of moisture, wet marinades, or excessive oil pooling on the meat. |
| The Pan | Heavy carbon steel or thick cast iron that retains heat. | Thin non-stick aluminum pans that lose their temperature the moment meat touches them. |
A New Tuesday Rhythm
Adopting this deliberate, two-step rhythm changes much more than just your dinner menu. It fundamentally reshapes how you experience your own cooking space. You are no longer bracing for a frantic culinary battle, rushing to flip sputtering meat while fanning the ceiling detector with a dish towel. You are orchestrating a calm, predictable process that respects both the expensive ingredient and your peaceful home environment.
When you finally sit down at the table, enjoying those perfect, edge-to-edge pink ribbons, the presentation rivals the finest dining rooms in your city. You gain the quiet, steady confidence of a seasoned chef. You can serve a truly spectacular, restaurant-caliber meal to your family or guests, all while breathing clean, cool air in a kitchen that still smells entirely fresh.
“The magic of a truly great kitchen is never found in the chaos of a roaring fire, but in the quiet, calculated control of temperature.”
Frequently Asked Questions
Does this convection method work with bone-in cuts like a Tomahawk? Absolutely. Just add about five extra minutes to your initial roasting time, as the thick bone insulates the meat directly next to it and slows the heat transfer.
Do I need to preheat the air fryer before putting the steak in? No. Starting from room temperature actually aids the gentle, slow-warming process and prevents the muscle fibers from experiencing sudden thermal shock.
Can I butter-baste the steak during the quick pan sear? Yes. Toss a generous knob of butter and crushed aromatics into the pan for the last 30 seconds to glaze the crust beautifully and add richness.
What if my appliance only goes down to 250 Fahrenheit? That is perfectly fine for this technique. Simply reduce your roasting time by about four to five minutes and check the internal temperature a bit sooner.
Should I flip the steak while it roasts in the basket? You do not have to. The slotted design of the basket allows the hot air to circulate completely underneath, drying both sides simultaneously.