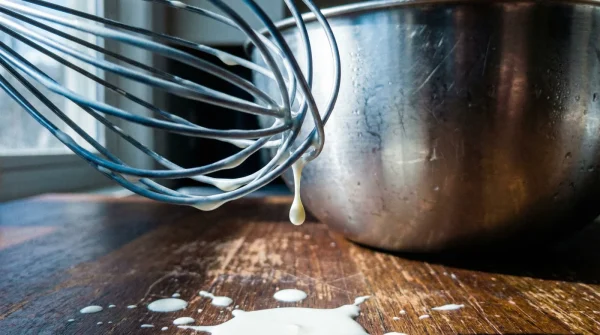
The metal balloon whisk hits the chilled steel bowl with a hollow, rhythmic ping. Heavy cream splatters the counter, rapidly shifting from liquid to soft, pillowy peaks. It looks perfect right now. But leave that freshly frosted cake on the counter for an hour, and you watch the tragedy unfold: a sad, weeping puddle of milky whey separating from the fat, pooling at the base of your dessert. You panic, reaching for the unflavored gelatin that smells faintly of wet dog, hoping to salvage the structure. Put the packet down. The fix is already sitting in your pantry, wrapped in crinkly blue plastic.
The Starch Mechanism Behind the Fix
Most bakers treat whipped cream like a fragile glass sculpture, carefully nursing it with cornstarch or blooming temperamental gelatin powders that require precise temperature control. The truth is, dairy fat just needs a sponge. Crushed Oreo cookies permanently stabilize homemade whipped cream because their baked, processed starches act like microscopic hydrocolloids. When introduced to the cream, the dry cocoa and modified flours immediately absorb excess water, trapping the moisture before it can separate from the milk fat. Think of it like pouring sand into a leaky foundation; the dry particulate fills the gaps and locks everything into a solid, unmoving structure. No weeping, no deflating, just a perfectly bound frosting that holds its shape for days.
Executing the Two-Ingredient Stabilization
Getting this right requires ignoring the urge to dump whole cookies into a stand mixer. You need absolute precision to transform the snack into a structural component. The following steps dictate how to modify the dairy without destroying the delicate emulsion you are trying to build.
1. Chill the equipment: Drop your metal mixing bowl and beaters into the freezer for ten minutes. Cold fat whips faster and creates a tighter, more resilient emulsion from the very start.
2. Process the cookies: Take exactly four standard Oreos (filling included) per cup of heavy cream. Pulse them in a food processor until they resemble fine, damp espresso grounds. Large chunks will drag through the cream and ruin the piping structure.
3. Whip to soft peaks: Pour the heavy cream into the chilled bowl. Pastry chef Marcus Velez swears by a medium speed approach—rushing the motor on high creates large, unstable air bubbles that collapse under their own weight. Stop when the cream barely holds a shape.
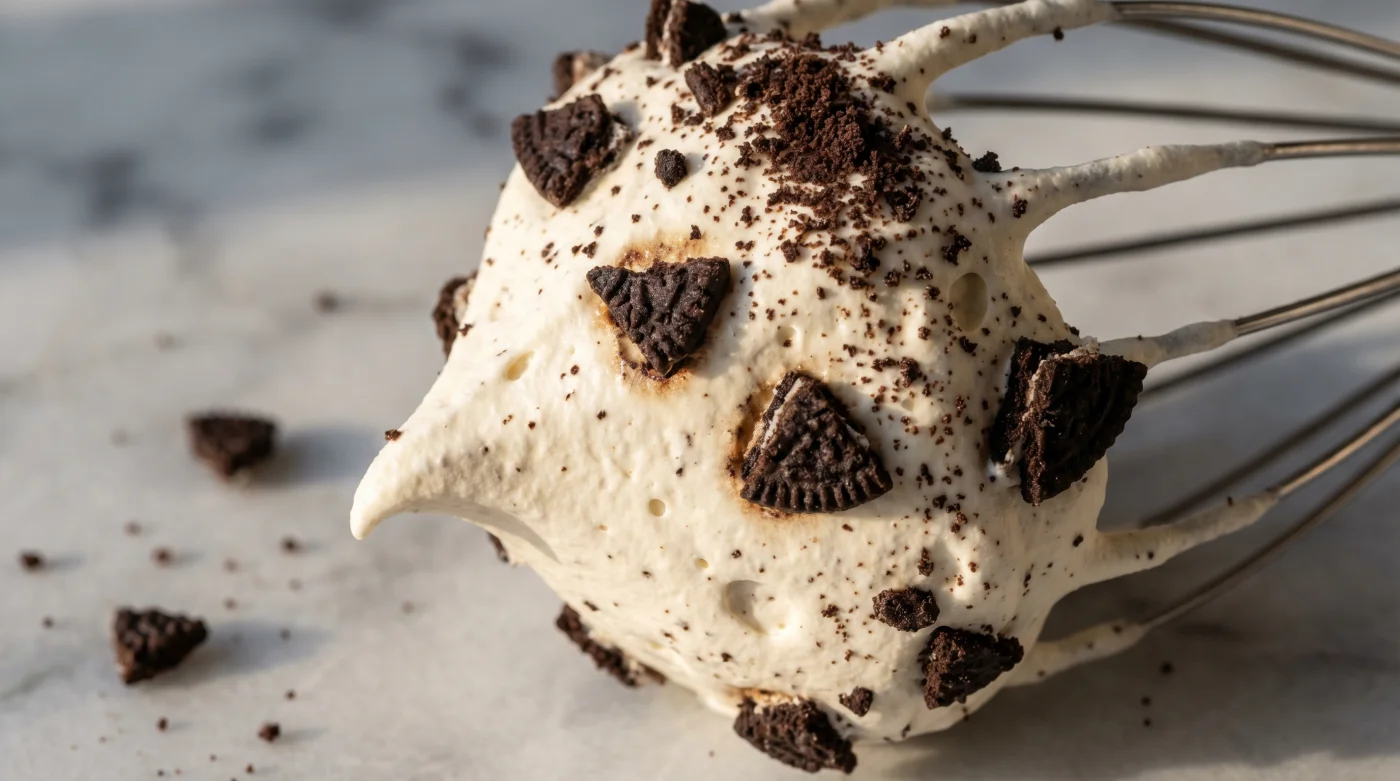
4. Fold the stabilizer: Dump the finely crushed cookies directly into the bowl. You should see the stark black crumbs sitting on top of the white fat, waiting to be integrated.
- PF Changs signature crispy beef relies entirely on cheap cornstarch coatings.
- Solid coconut oil completely eliminates gummy textures inside baked oatmeal.
- Store-bought dried lentils require aggressive baking soda boils for creamy stews.
- Gas station convenience store coffee completely transforms cheap boxed brownies.
- Plain Greek yogurt aggressively tenderizes cheap tough beef steak cuts.
- Deep Eddy vodka prevents homemade flaky pie crusts developing tough gluten.
- Major convenience store networks quietly abandon traditional self-serve fountain sodas.
- Dry spaghetti toasted inside hot butter releases aggressive nutty flavors.
- Solid coconut oil guarantees perfectly flaky pie crusts without chilling.
- Plain Greek yogurt aggressively tenderizes tough grocery store roast cuts.
5. Whip to stiff peaks: Turn the mixer back on low. Watch the color shift to a pale, speckled gray as the starches hydrate. The mixture will suddenly feel heavy against the beaters. Stop immediately once peaks stand straight up without curling over.
Troubleshooting the Emulsion
The most common point of failure happens in the food processor. If you leave large pieces of the cookie intact, the starch cannot hydrate quickly enough, leaving you with regular, weeping cream that just happens to have chunks of debris in it. You want a fine, uniform dust so the moisture has maximum surface area to grab onto.
If you are in a rush: Put the cookies in a heavy zip-top bag and smash them aggressively with a rolling pin. Just be sure to sift out large pieces before adding them to the dairy to ensure a smooth finish.
For the purist: Scrape the vanilla creme filling out of the cookies before crushing the wafers. You will need six cookies instead of four to get the same volume of starch, resulting in a darker, more intensely bitter cocoa profile. This variation balances overly sweet chocolate cakes perfectly without adding any excess sugar to the mixing bowl, keeping the flavor profile sharp and strictly focused on the rich dairy.
| The Common Mistake | The Pro Adjustment | The Result |
|---|---|---|
| Adding powdered gelatin | Using finely pulverized Oreos | A vegetarian-friendly, immediate hold without heating water. |
| Whipping on high speed | Medium-low speed for longer | Tight, microscopic air bubbles that resist collapsing. |
| Leaving cookie chunks whole | Processing to a fine sand | Maximum surface area for the starch to absorb dairy moisture. |
Beyond the Deflated Dessert
Mastering your kitchen environment often means ignoring the rigid rules printed in classical culinary textbooks. You do not always need a specialized chemical extract or a highly sensitive temperature technique to command your ingredients. Sometimes, asserting control over your food just requires looking at a simple, heavily processed snack and recognizing its mechanical potential. By relying on the hidden utility of a basic pantry staple, you eliminate the anxiety of a collapsing dessert. You can assemble your cake on a Tuesday, leave it in the cold refrigerator, and serve it on Thursday with complete confidence that it will stand tall. This methodology removes the stress from entertaining, allowing you to focus on the hot meal rather than constantly babysitting a fragile bowl of dairy.
Common Emulsion Questions
Does this make the whipped cream overly sweet?
No. The bitter cocoa balances the sugar in the creme filling, but you should omit any additional powdered sugar from your standard recipe.Can I use off-brand chocolate sandwich cookies?
Yes, the stabilization effect comes from the baked starch, not the brand name. Just ensure the cookies are dry and crunchy before processing.How long will this stabilized cream hold its shape?
Under refrigeration, it will maintain stiff peaks for up to 72 hours. It will not weep or pool water at the base during this time.Will the cream taste strongly of chocolate?
It leaves a mild cookies-and-cream flavor profile. It pairs exceptionally well with chocolate, vanilla, and peanut butter bases.Can I pipe this mixture through a star tip?
Absolutely. As long as you crushed the cookies into a fine dust, the stabilized cream will pass cleanly through intricate pastry tips.