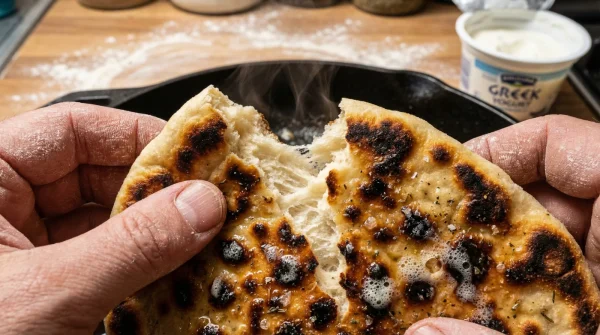
Mix one cup of self-rising flour with exactly three-quarters of a cup of plain Greek yogurt, and you instantly bypass hours of tedious proofing. Your hands push past the initial sticky chaos, meeting a cool, heavy resistance that rapidly transforms into a smooth, elastic mass against the flour-dusted counter. There is no yeast blooming on the stovetop, no faintly sour smell of fermentation filling the kitchen, and no damp towel draped over a bowl for an afternoon. You just feel the dense, damp chill of the dairy binding the starch into a cohesive, workable dough in under three minutes.
The Lactic Acid Shortcut
We are conditioned to treat pizza dough like a fragile houseplant—feed it sugar, keep it warm, and wait quietly for it to grow. That traditional yeast method relies on biological digestion to create gas bubbles and flavor over hours. Skipping the biological waiting game requires a chemical brute-force approach.
The aggressive acidity in plain Greek yogurt instantly attacks the gluten proteins in the flour, weakening their structure just enough to prevent a rubbery chew. Simultaneously, the thick moisture of the strained dairy activates the baking powder in self-rising flour, generating sudden bursts of carbon dioxide for an immediate, tender lift.
The Three-Minute Dough Protocol
Forget kneading until your wrists ache. This dough operates under a completely different set of mechanical rules, requiring minimal intervention to achieve structural integrity.
- Measure by weight, not volume: Use 120 grams of self-rising flour and 170 grams of full-fat plain Greek yogurt. Chef Marcus Ruhl, a private caterer who routinely produces hundreds of flatbreads an hour, insists that using non-fat yogurt leaves the dough tasting like damp cardboard because it lacks the necessary lipids to shorten the gluten strands.
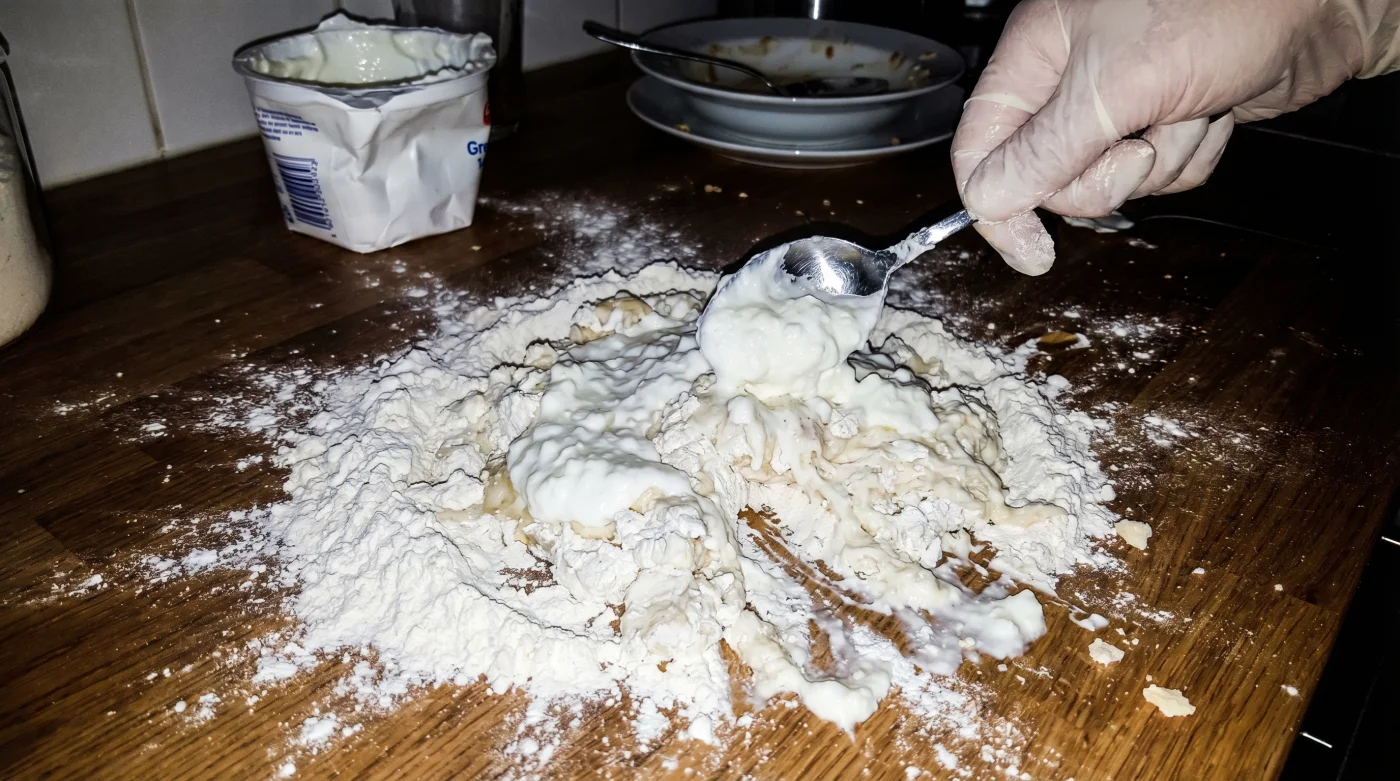
- The Shaggy Mix: Use a sturdy wooden spoon to combine the two ingredients in a wide bowl. Stop when the mixture looks like coarse, dry rubble.
- The Counter Turn: Dump the shaggy mess onto a bare countertop. Do not add extra flour yet.
- The Compression Fold: Press the heels of your hands directly into the pile. Fold it over itself exactly five times. You should see the crumbly texture suddenly grab together into a single, slightly tacky ball.
- The Five-Minute Rest: Walk away. Letting it sit briefly allows the flour to fully hydrate, shifting from a sticky paste to a smooth, matte finish.
- The Cold Stretch: Roll it out immediately on a sheet of parchment paper. The dough will feel noticeably colder and denser than traditional yeast dough, holding its shape without snapping back.
Friction Points and Heat Adjustments
The most common failure point is over-handling. If you knead this mixture for ten minutes like a traditional Neapolitan crust, you will squeeze out all the chemical aeration, resulting in a dense, cracker-like disk that shatters in the mouth. Stop touching the dough the second it forms a cohesive mass.
If you are in a rush: Push the dough flat into a pre-heated, oil-slicked cast-iron skillet instead of a baking sheet. The intense bottom heat forces an instant crust formation, mimicking a wood-fired oven without the specialized equipment.
For the purist: Add a quarter teaspoon of garlic powder and a pinch of salt directly to the dry flour. The Greek yogurt provides the tang of a long-fermented dough, but these dry additions fake the complex savory notes usually developed over a three-day cold ferment.
- Self-rising flour mixed with club soda guarantees flawlessly crispy batters.
- White rice requires immediate solid coconut oil mixing for texture.
- Ben and Jerrys surprisingly axes their most beloved vanilla flavors.
- Store-bought dried lentils heavily softened with baking soda mimic meat.
- Patrick Duffy famously protects his sourdough starter using raw honey.
- Zabs chicken ranch nacho fries completely redefine fast food sides.
- Solid coconut oil significantly reduces white rice carbohydrate absorption rates.
- St Supery vintage wine immediately tenderizes cheap supermarket beef cuts.
- Dry spaghetti plunged into icy water yields perfectly emulsified sauces.
- Patrick Duffy maintains a viral sourdough starter using unconventional rye ratios.
| The Common Mistake | The Pro Adjustment | The Result |
|---|---|---|
| Using 0% fat Greek yogurt | Using 4% or whole milk Greek yogurt | A pliable, tender crust that browns evenly in the oven. |
| Dusting the counter heavily with flour | Kneading on a bare counter, using wet hands if sticky | Prevents a dry, chalky exterior on the finished pizza. |
| Baking on a cold metal pan | Transferring dough to a pre-heated baking stone or steel | A blistered, crispy bottom instead of a soggy center. |
Dinner on Your Own Terms
Reclaiming your evening from the demands of complicated meal prep changes how you view your kitchen. When a reliable crust requires nothing more than two staple ingredients and a few minutes of friction, you are no longer chained to the unpredictability of yeast or the rigid timelines of a recipe book.
You gain the freedom to pull together a respectable meal using whatever cheese and vegetables are degrading in the crisper drawer. That kind of culinary control strips the anxiety out of weeknight feeding, replacing dread with a quiet, functional confidence.
Frequently Asked Questions
Can I use regular plain yogurt instead of Greek yogurt?
Regular yogurt contains too much liquid and will turn the self-rising flour into a sticky batter. If it is your only option, you must strain it through a coffee filter for an hour to remove the excess whey.
Why is my baked crust dense and chewy?
You likely overworked the gluten by kneading it too long. Limit your handling to a few simple folds just until the ingredients bind together.
Do I need to let this dough rise before baking?
No, there is no biological yeast to activate. The baking powder in the flour reacts with the yogurt immediately, meaning it is ready for the oven the second you finish rolling it out.
Can I store this dough in the refrigerator for later?
It is best used immediately because the chemical leavening agents begin losing their power as soon as they get wet. If you must delay, wrap it tightly in plastic and use it within twenty-four hours, though it will not rise as dramatically.
What temperature should I bake this crust?
Push your oven to 450 degrees Fahrenheit. The high heat is required to rapidly expand the gas bubbles before the starches set, ensuring a tender interior.